

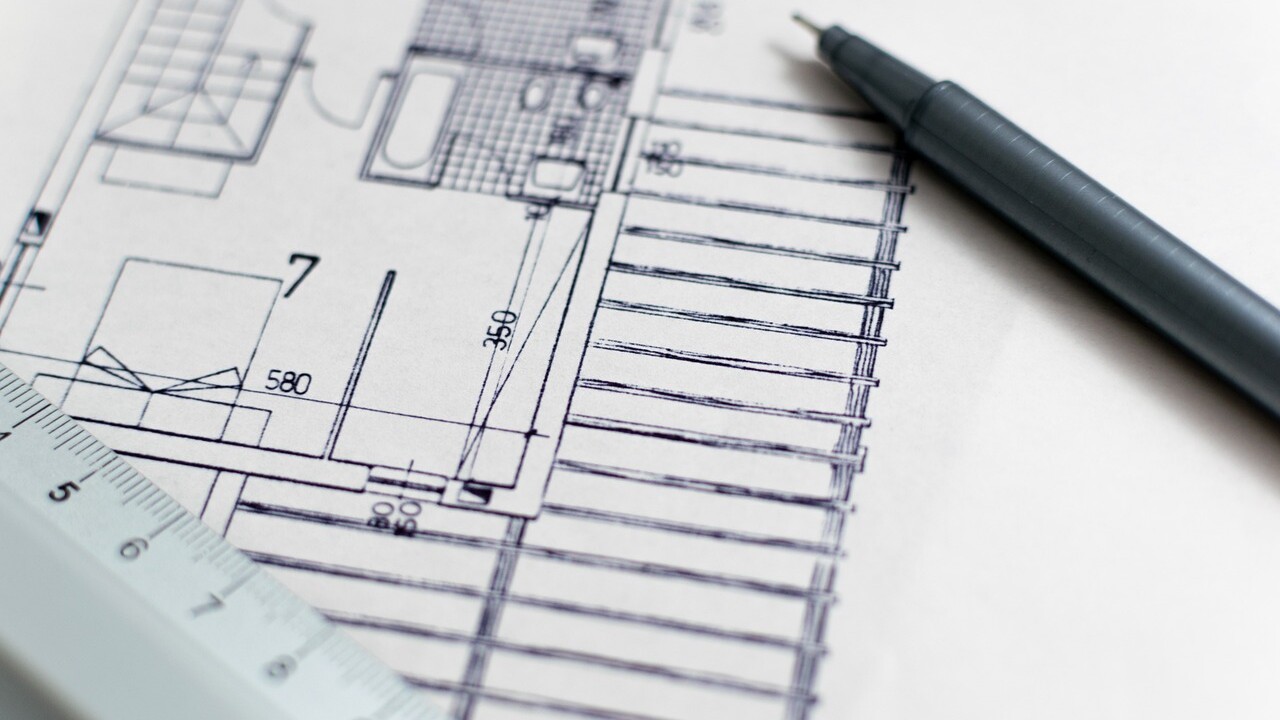
Our process
Step 1
Gather references
Here we collect usual inputs like AutoCad files, Revit, Archicad files, or sometimes just PDFs. Also we gather as many pictures as possible for the project.
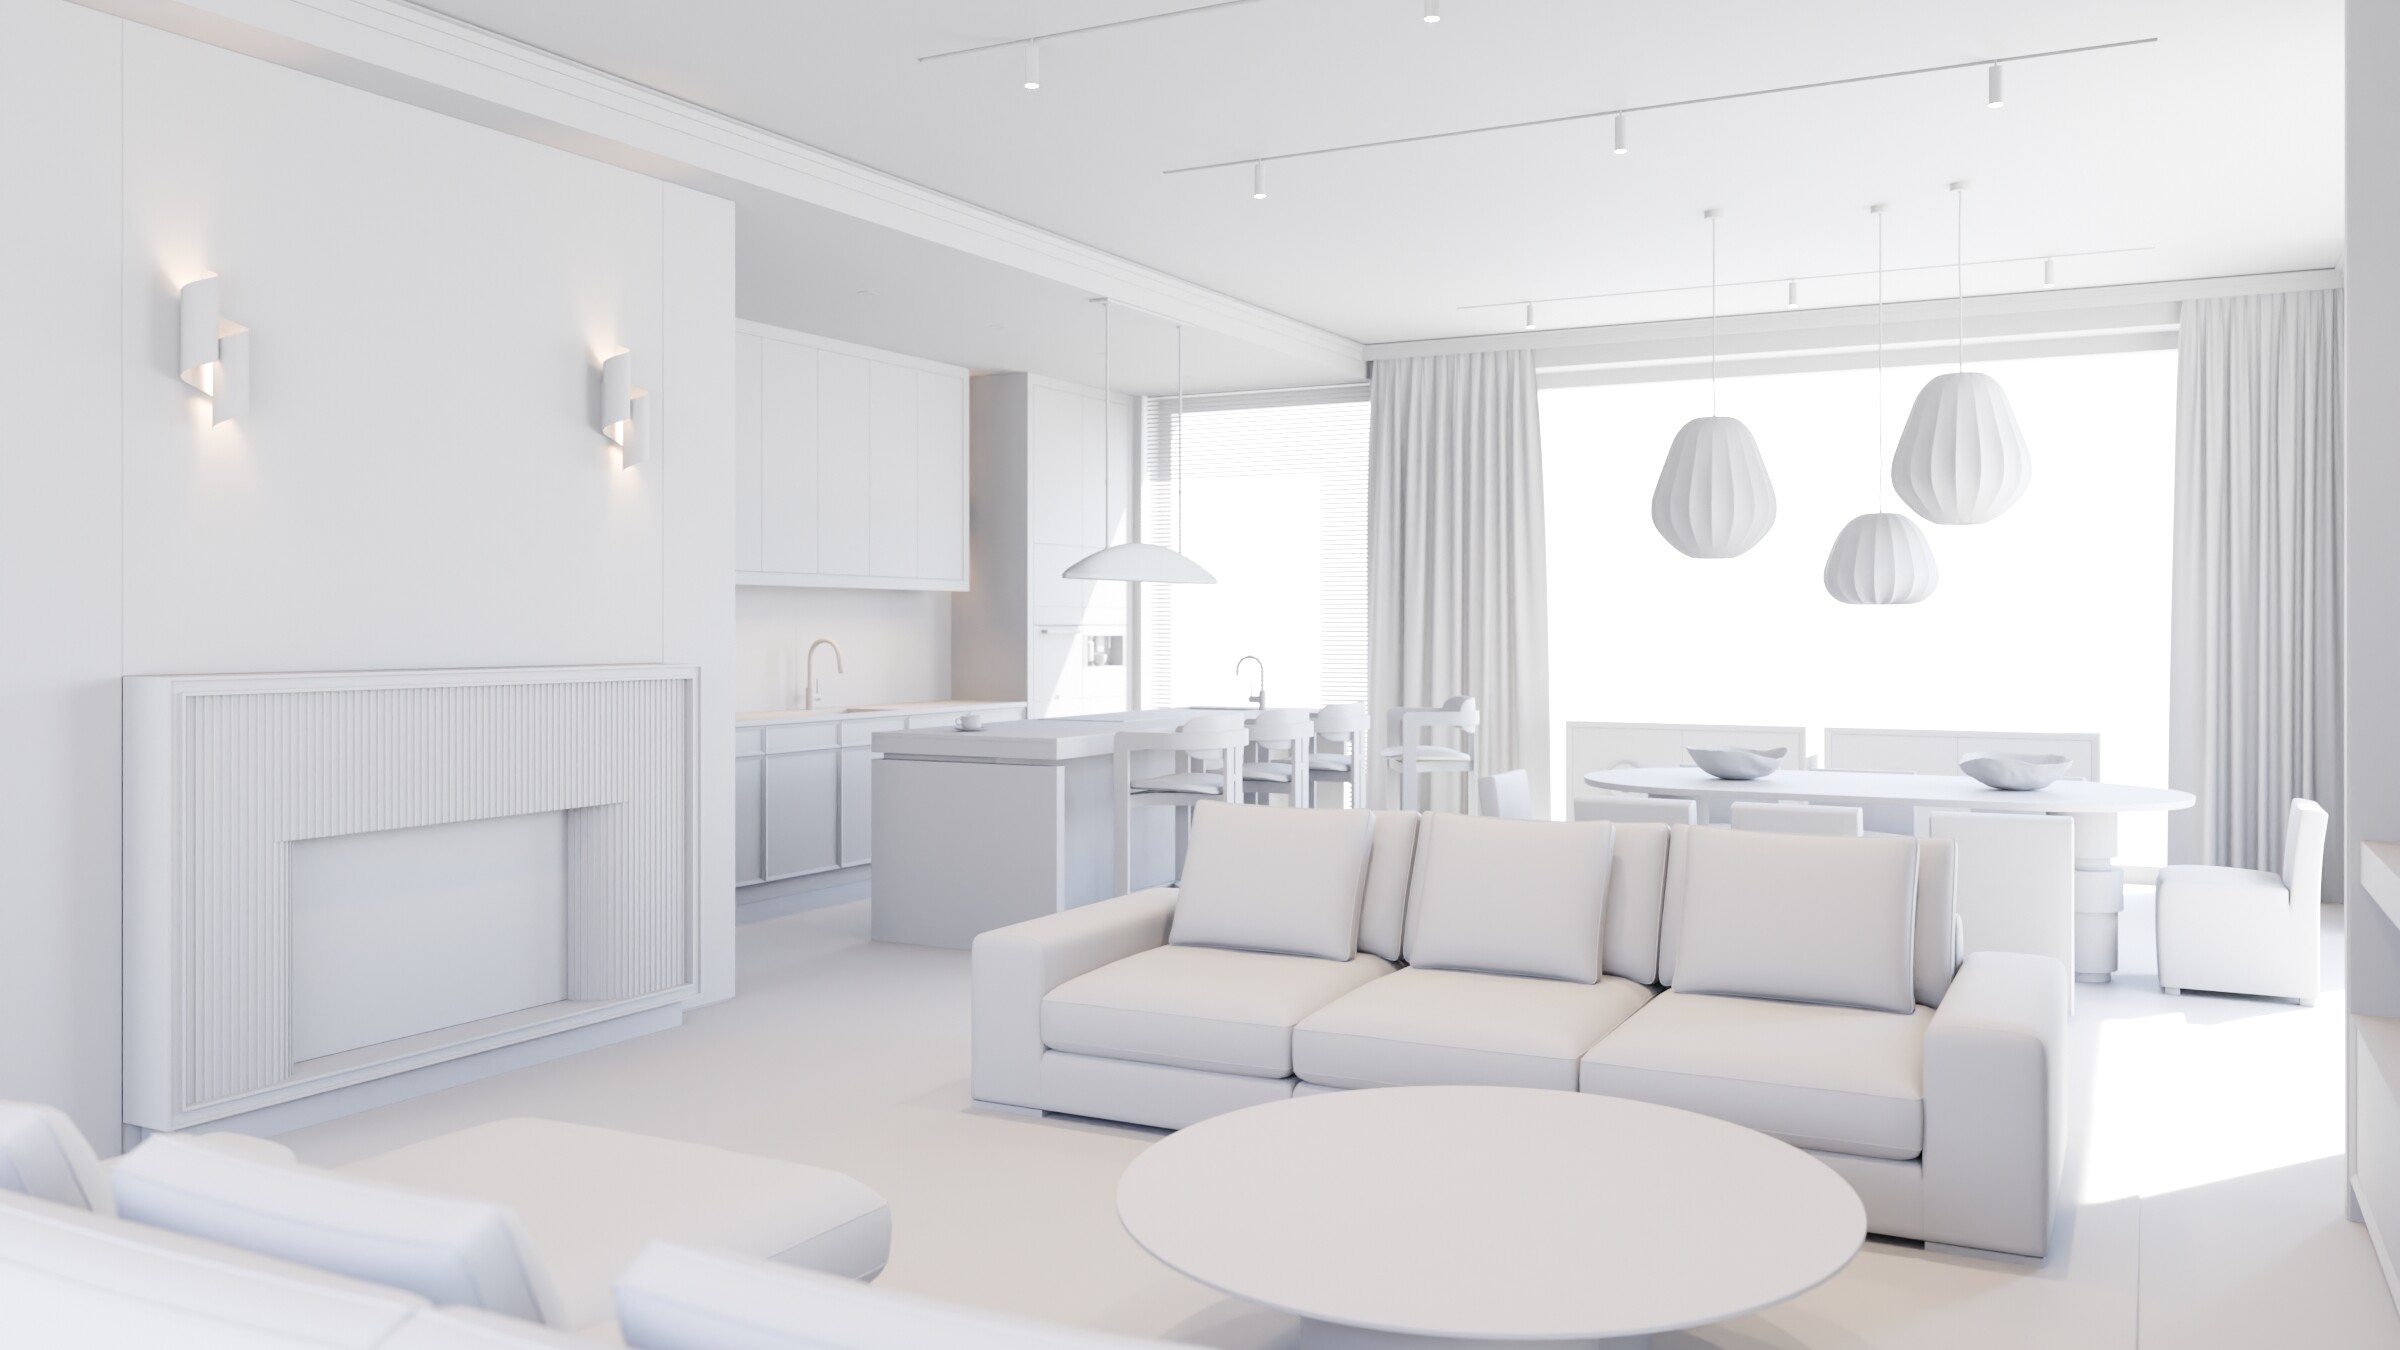
Our process
Step 2
Define camera and do massing
General massing are a great way to understand the space. It also helps us find the best camera angles to show your client their space in the best. How many camera angles are needed to capture your space? We can quickly test this out for you.
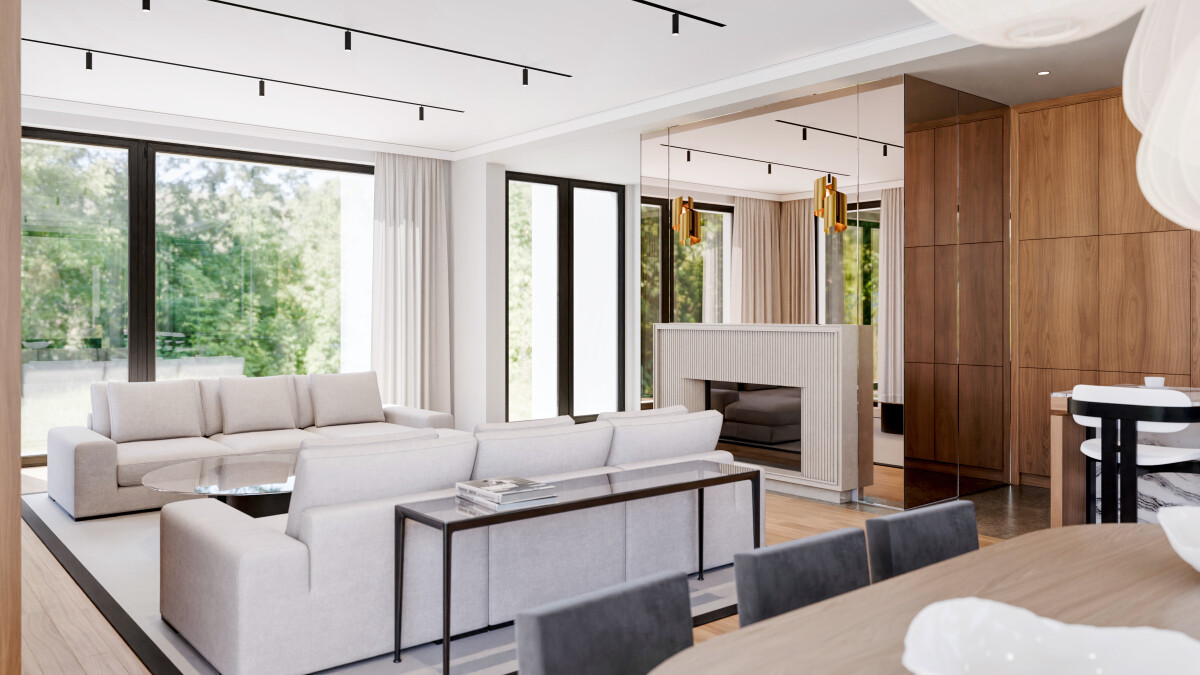
Our process
Step 3
Detailing models, texturing and lightning
Details are best added after the space has started coming together. Start with less detail and add more as we perfect your vision. Textures and lighting are the two most important steps to make an image look real. Even poorly made models can look good if the lighting and textures are amazing! Use light to tell story! Do you need photo realistic lighting or just regular ambient occlusion? Biased or unbiased renders? We will explain this to you so you know all your options.
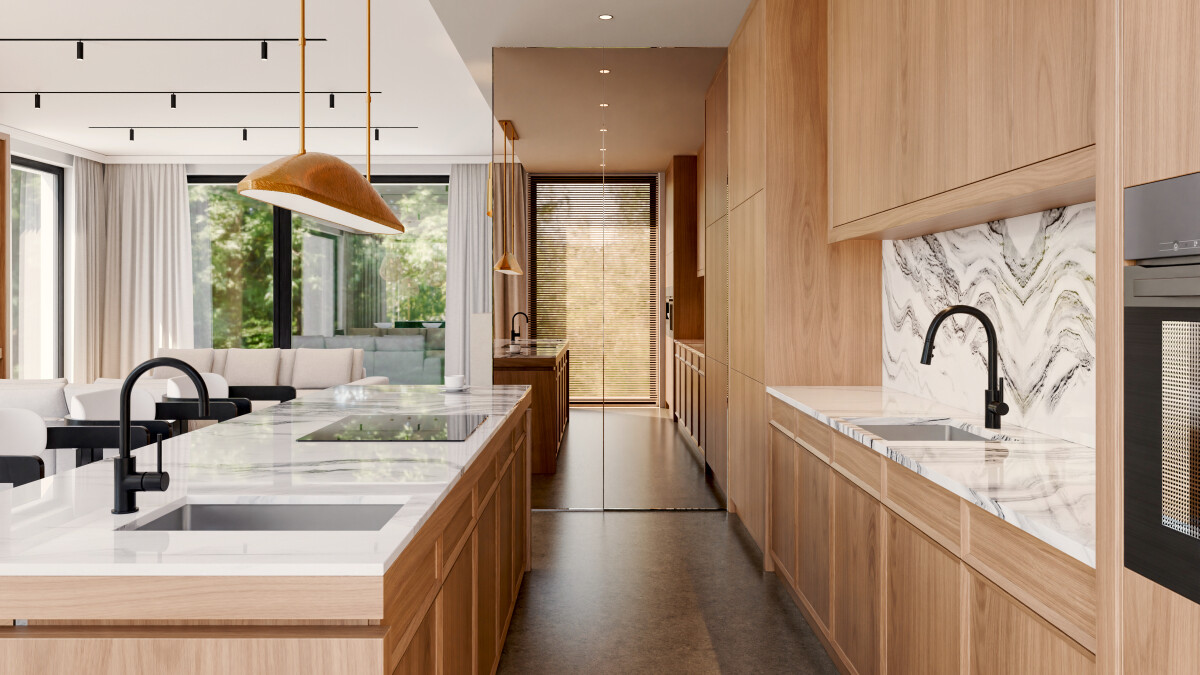
Our process
Step 4
Proposed final render, and final changes
After everything is done it is good to take a test render of the proposed space. There is always something that needs tweaking before the final render in full resolution is started. Sometimes if small mistake is made we can spot it here and quickly fix it. No problem!
Do you have a Visualization Project coming up?
Check out our portfolio for inspiration or contact us to learn how we can help.