


3D Interior Rendering
Commercial projects are a great place for our 3D rendering services. In a number of cases, businesses will spend a majority of their budget to ensure their space is visually appealing and organized.When walking into a building, a first impression is everything. From the décor of the building to how the look and feel appears, businesses want to impress their employees, vendors and most importantly clients and prospects.
When designing a space to display to perspective clients, most individuals generally have a difficult time visualizing massing models or CAD elevations. To make the process easier, have the experts at PiXate Creative provide a 3D commercial interior render for your business. 3D commercial renders can be extremely powerful when you, the architect, have the ability to show your client actual furniture pieces with actual fabrics and textures applied to the model.
Here is an example of what a client of ours would send us:
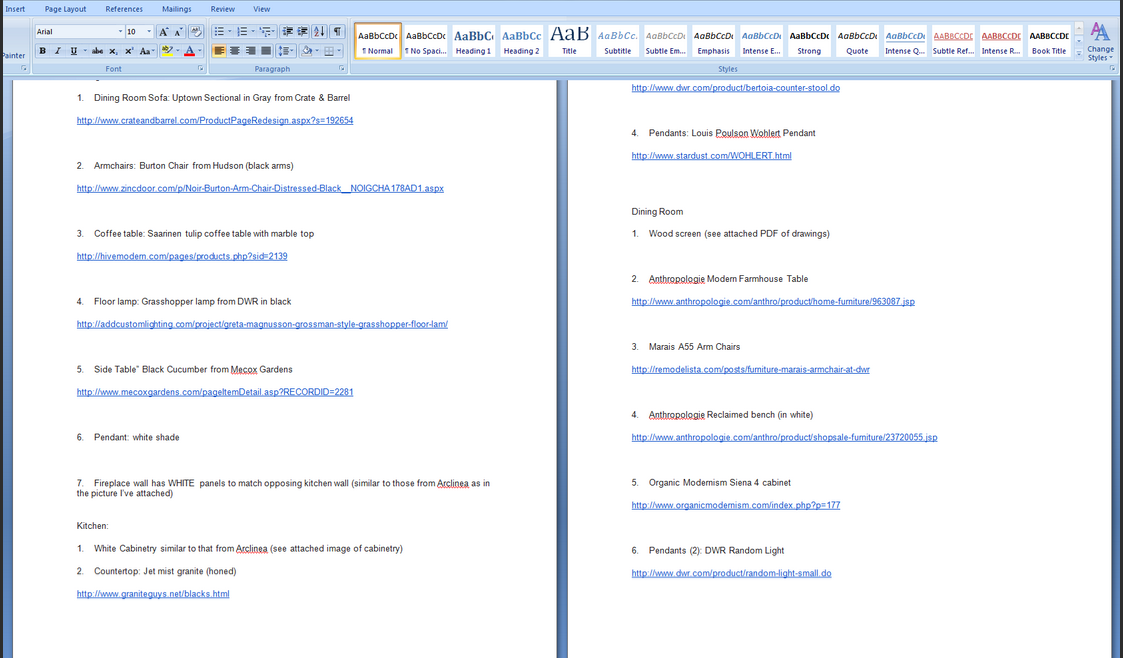
If you have created a furniture plan for your business prior to our first meeting, have us put together a photo realistic 3D render for the interior of your building
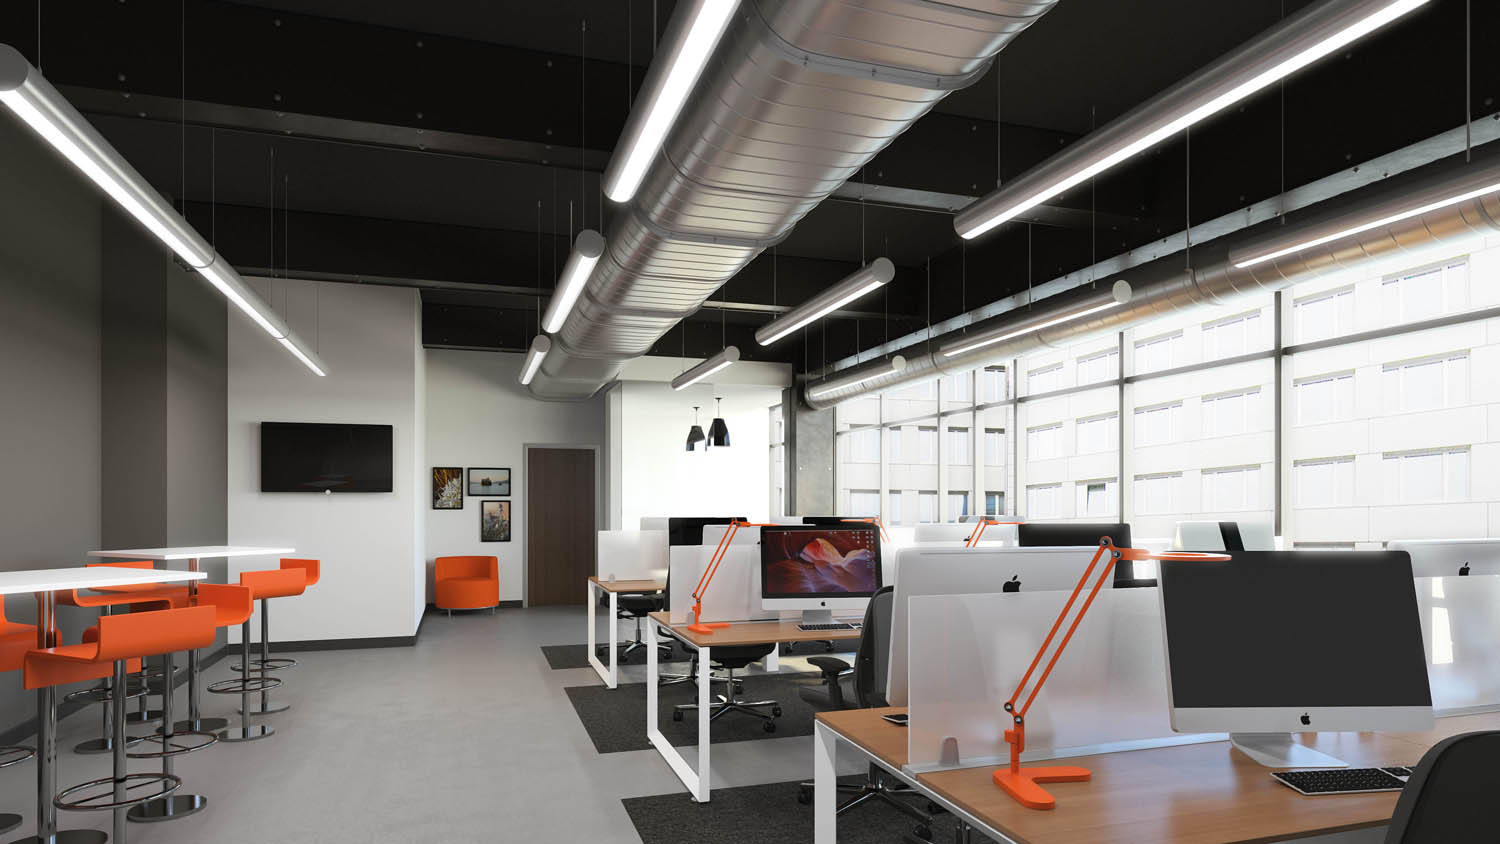
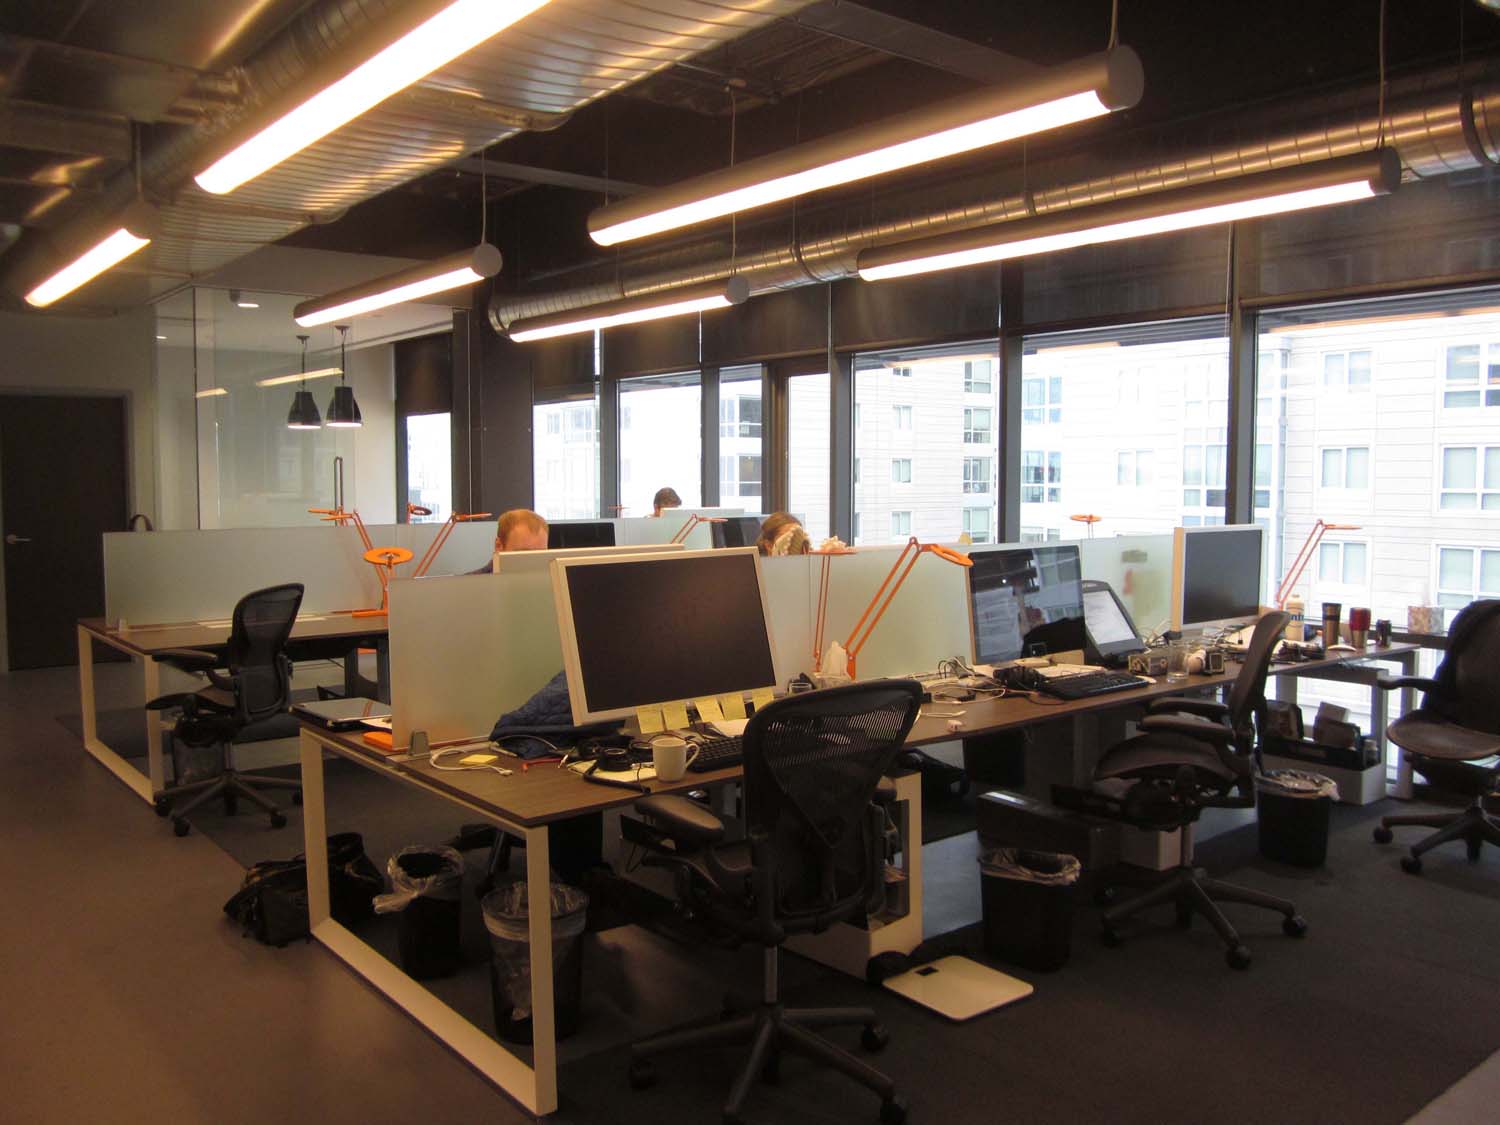
Using high quality 3D renders can give your architecture firm a leg up on the competition. These renders will position your firm as an expert capable of showing future clients how the space will look. With our years of experience in 3D rendering, we have started to build a catalog of 3D vs. actual spaces. Our clients are using these images in their presentations to attract future clients as well
Boston Rendering
An in Depth Look into a Boston Rendering
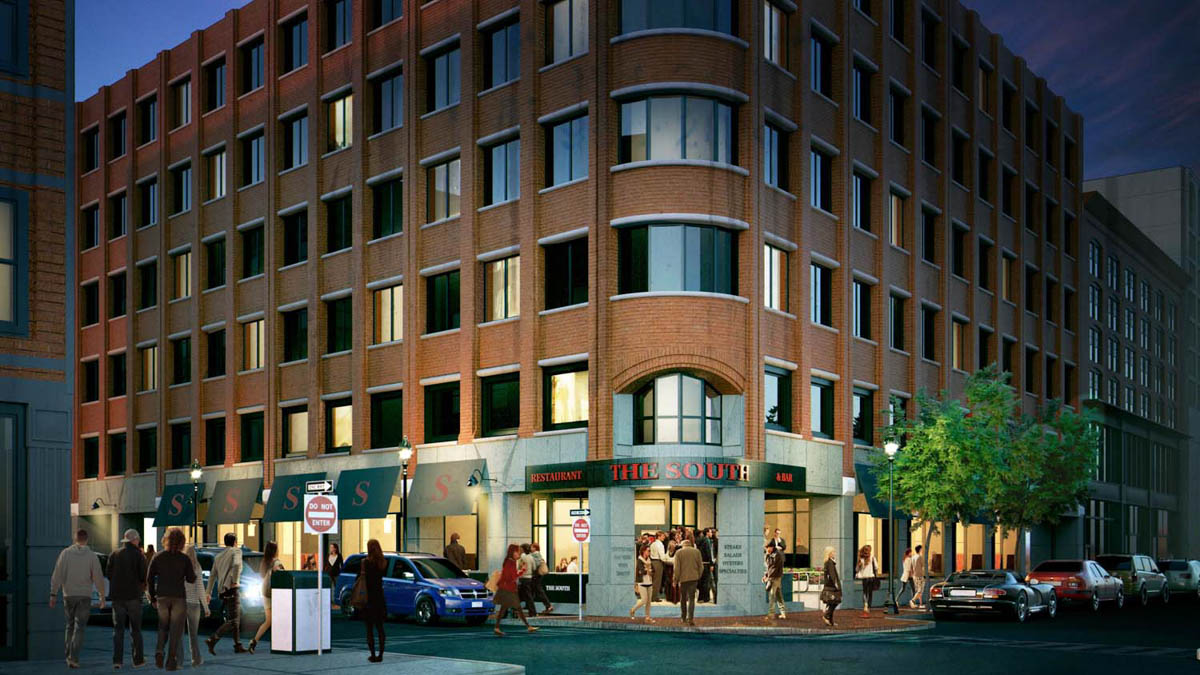
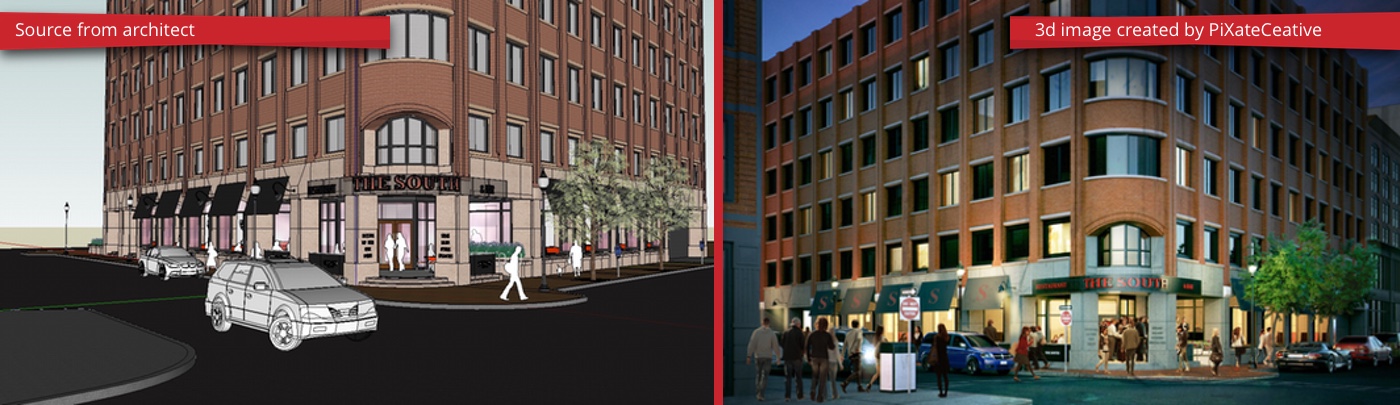
The attached image was created for Nelson, a global design, architectural firm, engineering, space planning and space management firm headquartered in Pennsylvania. Beacon Capital was the end user and they wished to have an image created which their Real Estate Professionals could use to generate excitement about the existing vacant retail space on the ground floor of 745 Atlantic. Our client came to us with a request. They needed an image created ASAP to show how the space might look but couldn't internally hit their deadline. They turned to PiXate Creative to pull off the render in a professional and efficient manner. Nelson, uses both Revit or SketchUp and in this project we received a SketchUp file.
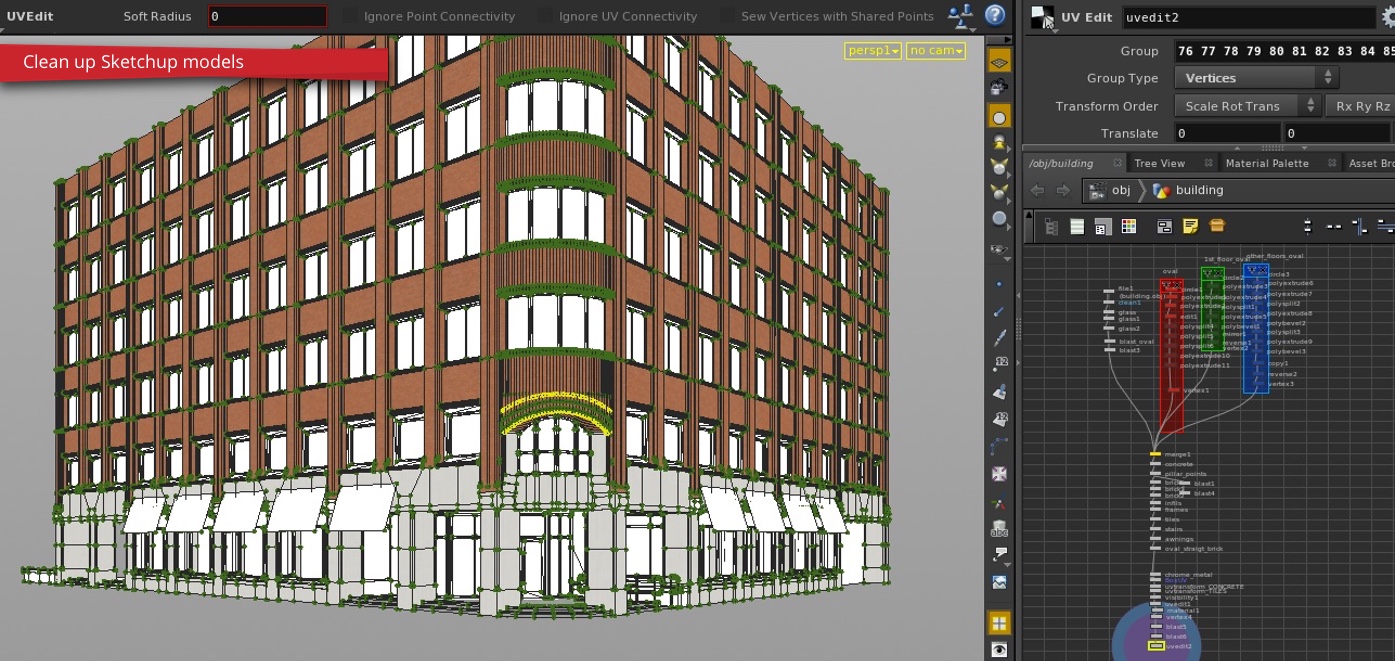
Step 1.
The first step of this process involved acquiring the SketchUp files provided by the client and moving them to the program Houdini. This enables us to provide our clients with a visual representation of the final product by creating the most realistic photo illustrations.
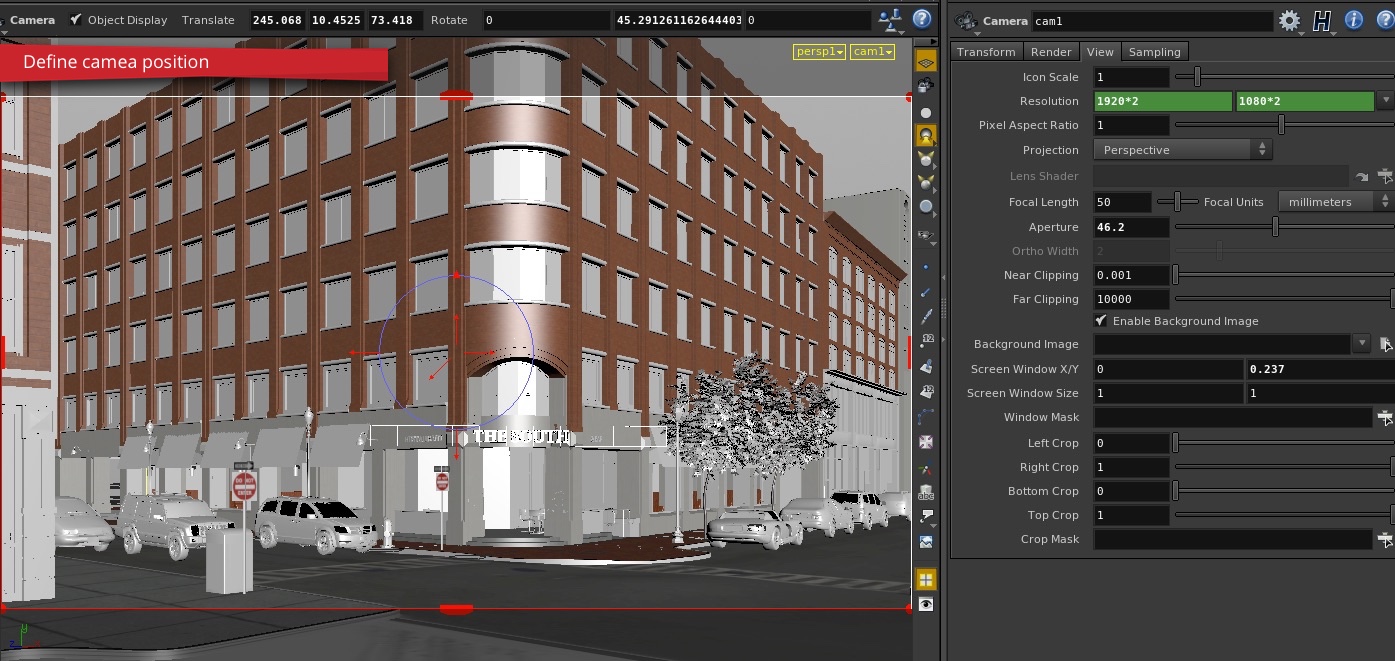
Step 2.
Defining the camera helps “paint a picture” for what the building will look like when it is finished. Since there was currently an existing building in place, our client asked us to improve the look of the building for marketing purposes.
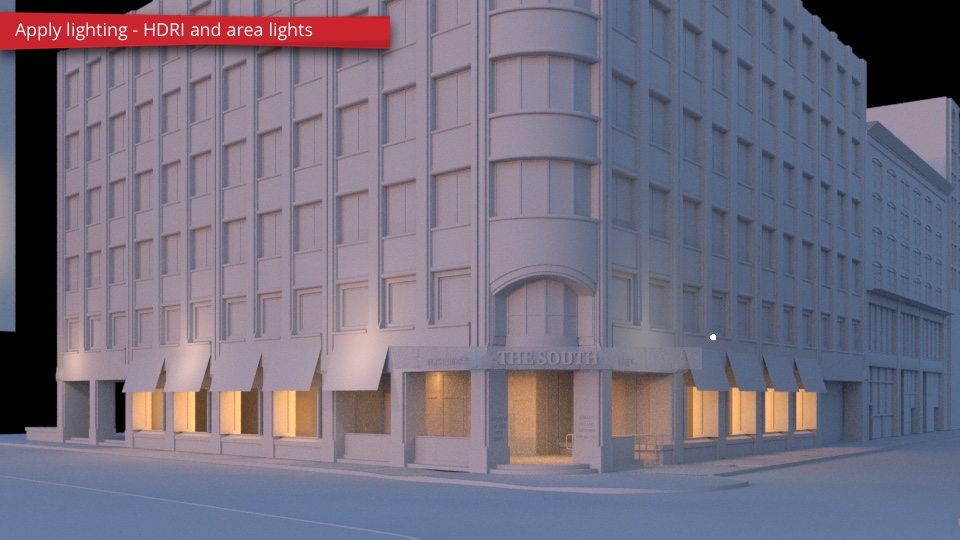
Step 3.
In this step we apply lighting to the image via HDRI. HDRI carries light information including the relationship between the location of the building and how the sun will hit the building.
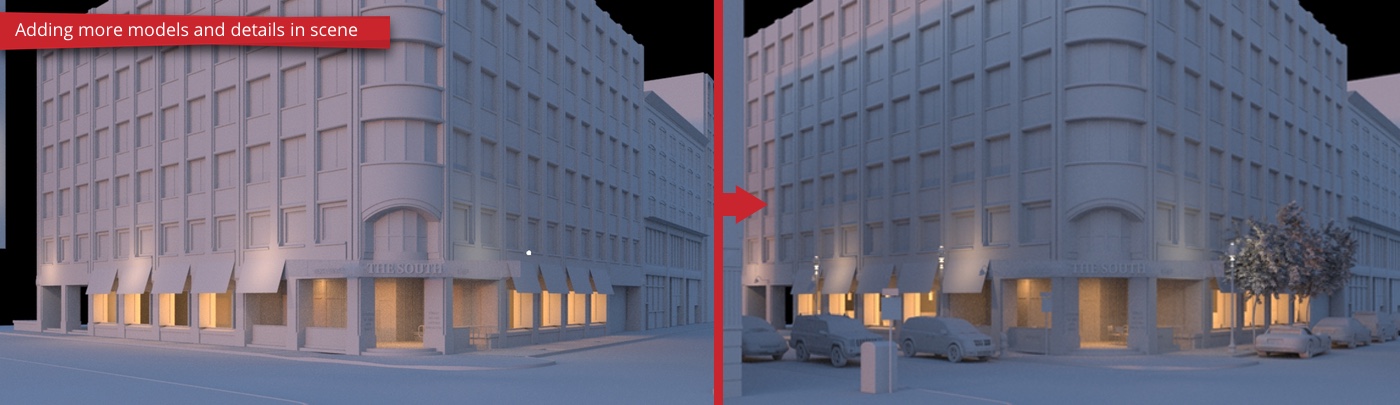
Step 4.
Along with the actual 3D render of the building, we provide additional models to the scene to create a more realistic final product. With the additional models, it provides our clients with a clear and vivid picture of what their building will look like when it is actually constructed.
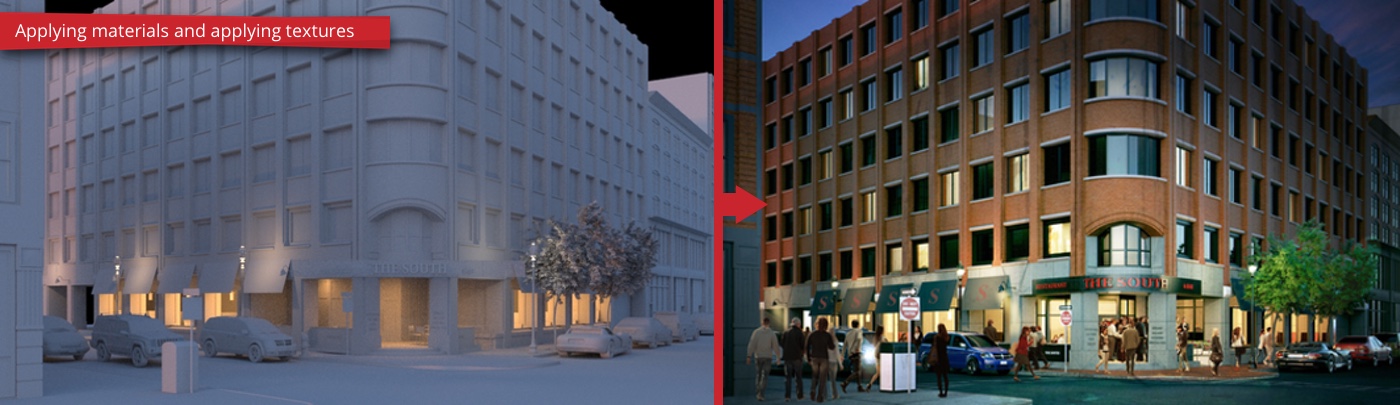
Step 5.
In this step you can see how we applied a number of materials and textures to make the image more realistic. From the lighting in the windows to the people walking around, we want to provide the most realistic 3D render we possibly can. By applying textures, you can see some of the finer details of the render as well such as the color of the building or the reflection of the glass. You can also see the discolorations on the brick giving the look of imperfection.
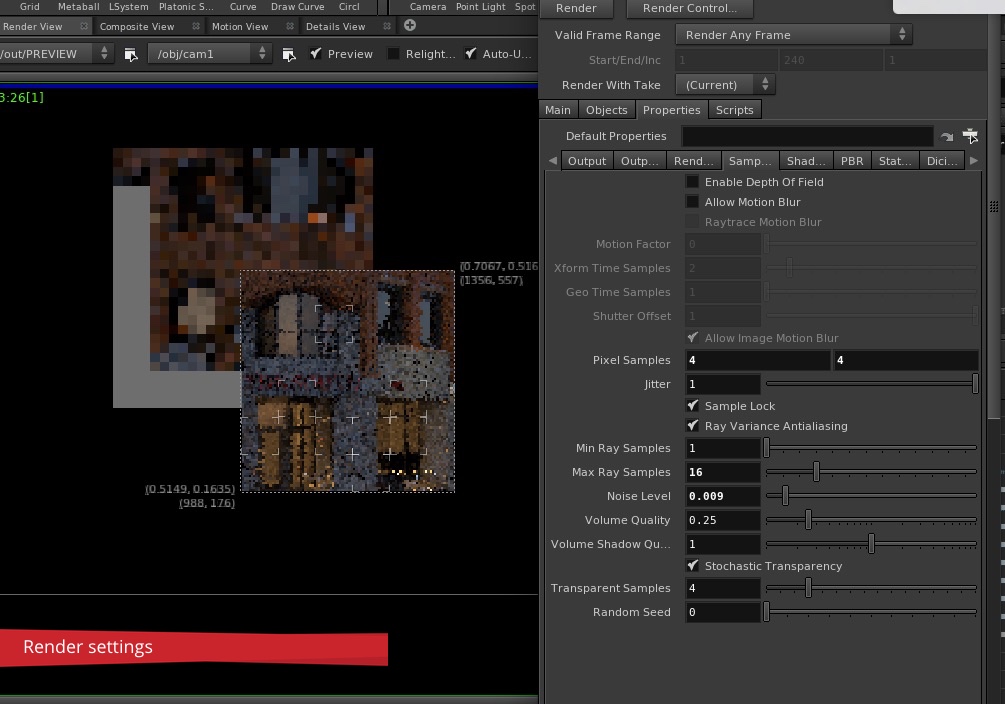
Step 6.
As you can in this step, we adjusted the render settings slightly enhance the quality of the image. This part of the process is rather complex due to the number of settings needed to make the image look great. If you are interested in hearing more about this step, send us an email to info@pixatecreative.com.
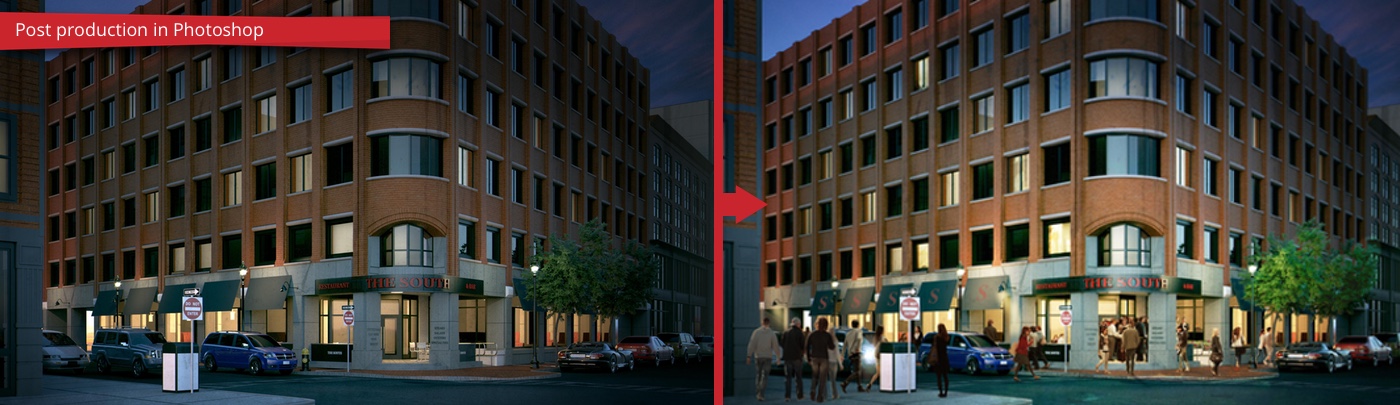
Step 7
The final portion of the process involves adding post process effects to the 3D render through either Photoshop or Nuke. Once this step is complete, the image is ready to be presented to the customer for final approval. As you can see the people were added to the post process and not rendered in the images. Sometimes we add people to the image during the 3D process; we will have a future blog discussing when to add people in 3D renders versus Photoshop, so keep a look out!
PiXate Creative 3D Workflow Process: Step 3, Refine Camera
The next step of the PiXate Creative 3D Workflow process involves refining the camera to fit the needs of the client. The purpose of this step is to help envision the space from multiple camera angles. This provides the client with a complete visualization of how the space will look and “feel” like.
We work with hand-in-hand with our clients to help create the best possible 3D render for their final vision. One problem we have noticed is the inability to fully visualize the space of the 3D render. By displaying the space through multiple angles, it gives us a chance to notice problems that may arise and fix the look and feel of each render.
Direction of the Light
When refining the camera angle on our 3D render the contrast, shadow, and texture play a large part not how the final image will appear. Furthermore, common problems such as high levels of exposure can be easily corrected with the proper use of exposure compensation.
Providing a Vision
Sometimes, visualizing the final product can be a difficult process especially if there is an empty plot of land. Here at PiXate Creative we bring yout building to life using a combination of the latest is 3D architectural technology and photography.
Research is Key
Before we begin to take pictures, from a small home to a skyscraper, we always preform extensive preliminary research and background research. We look for common focal points on each building that attract our customer’s attention. We use our combination of research and the focal points to generate the most realistic looking 3D render possible.
Choosing the Look and Feel
When choosing our images, we focus not only making our images more aesthetically pleasing but providing movement and dynamism to them as well. Our ultimate goal is to capture symmetry through the image and provide our client with the best possible visual representation of the building.
For more information of the entire PiXate Creative 8 step 3D workflow process, click here.